
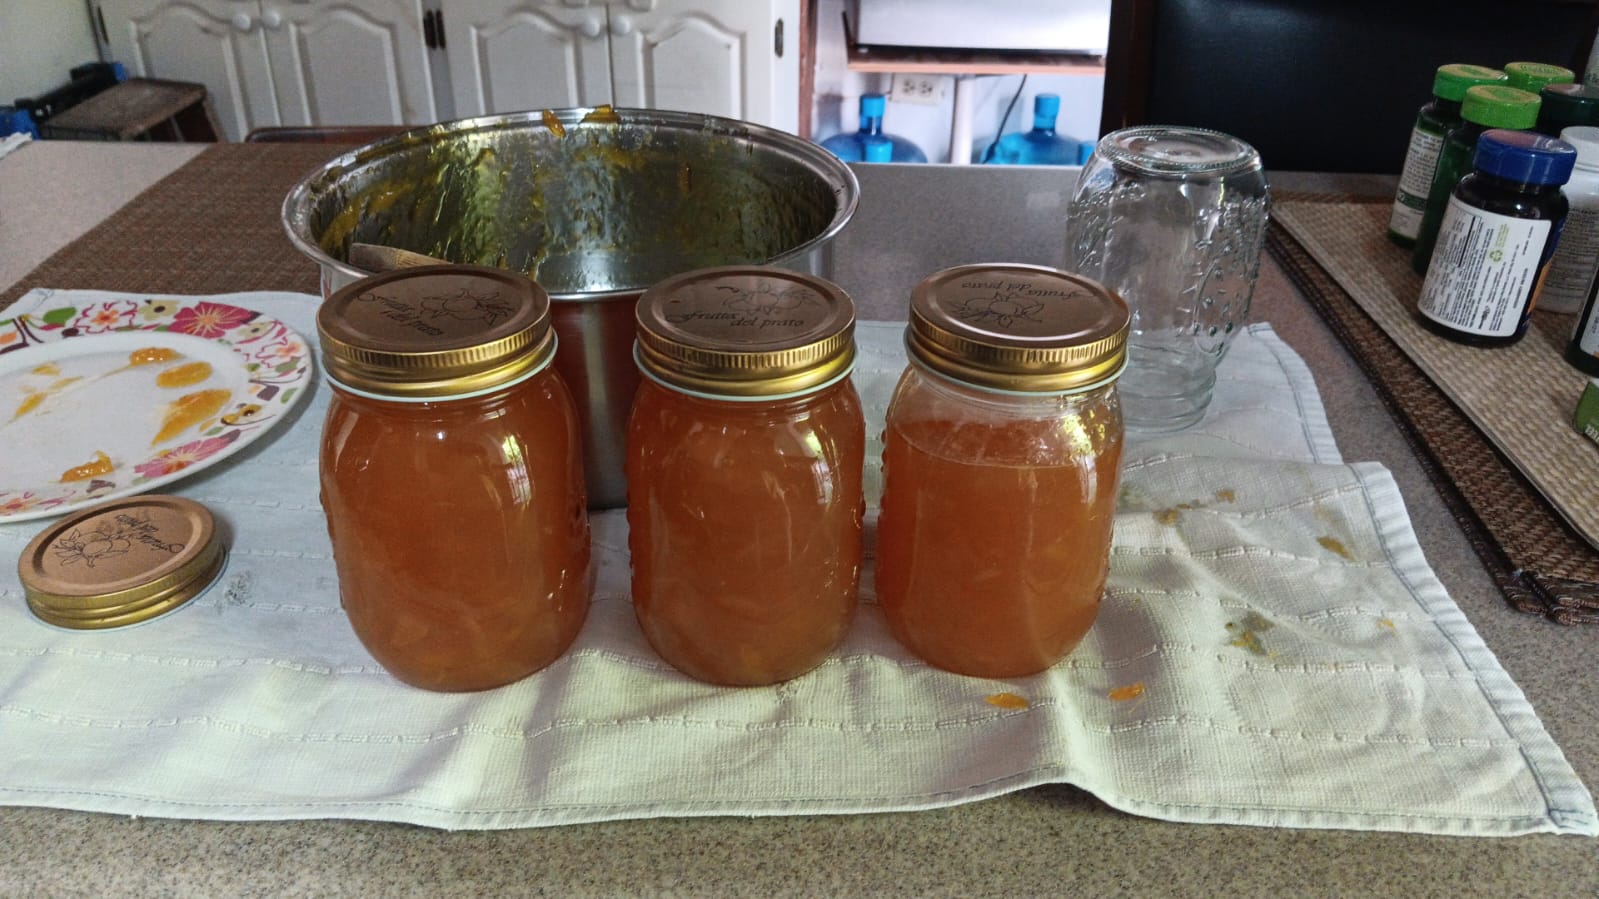
A simple recipe for mango jam, based on this recipe by Sarah Carey and using these canning instructions.
Because I wanted this jam to set as a gel, I used a 1-to-1 fruit to sugar ratio by weight, instead of the 2-to-1 ratio recommended by Sarah Carey’s recipe.
Ingredients
- Mangoes (peeled and flesh removed from seed and cut into 1/4 inch pieces)
- Granulated Sugar
- Lime juice
- Corn starch
- Salt
Equipment
- Glass canning jars
- Stock pot to sterilize jars
- Tongs to remove jars from stock pot
- Clean kitchen towels
- Pot to cook jam
- Kitchen scale
Instructions
Sterilizing the jars
- Fill your stock pot with enough water to cover your jars with an inch of water.
- Set the pot over a high flame and cover it
- When the water starts boiling, remove the lids from your jars and carefully place the jars and their lids into the hot water
- Leave the jars and lids to boil for 30 minutes.
- Once the 30 minutes have elapsed, lay out your kitchen towel on a flat surface. Using your tongs, remove the jars from the pot, being sure to drain the water into the pot. Place the jars, mouth down on the kitchen towel. Place the lids open side down on the kitchen towel as well
Making the jam
- Weigh out the peeled and cut mango, note the total weight and add the mangoes to your jam pot
- Measure and equal weight of sugar and add this to the mangoes.
- Add a pinch of salt to this mixture
- Stir the mixture together thoroughly, leaving the mixture for at least 15 minutes to allow the sugar to pull the juices out of the mangoes in a process called maceration (although much longer maceration durations can shorten the cooking process significantly)
- While the fruit is macerating, if you haven’t already sterilized your jars, do that now
- Once you’ve decided that enough juices have been extracted, we can start cooking our jam. You’ll know you’re ready when there is a significant amount of liquid now in your pot. Set the burner to medium, stirring
- Add about a table of lime juice per kilogram of fruit used
- Set your burned to medium, stirring the jam constantly
- Once the mixture starts boiling, reduce the heat to keep the liquid gently bubbling instead of rapidly boiling. Leaving the heat too high will lead to splattering and potentially being burned with hot syrup.
- Continue stirring the mixture until it starts to thicken. To check whether or not you jam is ready, put a drop of the jam on an ice cube. If it firms up into a gel, then it’s ready. Mine took around an hour to get to this state.
- If the mixture doesn’t firm up after an hour has passed, add small amounts of corn start and continue mixing until it reaches the desired texture.
- Once your jam is ready, pour it directly into your jars and quickly cover them and leave them out to cool to room temperature.